Stick to the book liner, adhesive fridge magnet plates.
Like the Aironfix, there are sure to be many brands and sellers; I have used one that I indicate, IDEMAG, but looking for sure there is more. There are various formats (A4, A3, etc even in rolls), with adhesive and without adhesive, and most importantly, with various clamping forces (usually 14,20,30,48 and 50 gr / cm2), the higher number the higher of clamping force, but also higher price and greater weight. As one of the objectives is to keep the price low, I use the lower clamping force (14 gr / cm2), and adhesive, for ease of use (can also be purchased without adhesive, cheaper, and use adhesive spray).
NOTE: the value of the adhesion strength is for horizontal adhesion, for vertical adhesion it is necessary to divide it by 2; that is, that in our case we have 7 gr / cm2 (more than enough for what the pieces weigh).
Here I give you an example: the back is lined with Aironfix and on this there is an A4 size magnet plate.

With fewer plates, it can also be worthwhile, but it is less secure. I explain.
One of my first tests I did with a 3000 ("Interludio" by Educa): with four A4 size plates distributed on the top, it is held, but any blow or strong gust of wind, you can throw it away. Covering all the surface with plates (14 A4 plates) is literally stuck to the wall and completely safe, immovable.
On the other hand, the adhesive of the magnetic plates is so strong that once stuck to the lining, it costs a lot to separate, you have to make a lot of strength and do it correctly so that the puzzle does not suffer. It is also a slow task. And to top it off, there are some remains of adhesive on the lining, which must be removed to avoid sticking some parts of the puzzle with others when storing it.
To avoid this problem, there are two alternatives:
- Stick removable liner over the plate, so that we "change" permanent adhesive by removable. For this, the non-adhesive side of the removable liner is pasted on the adhesive side of the magnetic plate; The result is a magnetic plate with removable adhesive. It gives a little more work, but it allows to remove the plate with ease and reuse it, and it does not leave remains of adhesive when removing it. It also has the same price as the normal lining.
- Use magnetic plate without adhesive, also called natural, stick it to the backing of books with "repositionable" spray glue. I have not tried this option, but brands like 3M have this glue in their catalog.
Aspects to consider:
- On the edges of the puzzle, bring the plate up to the edge. For this the best thing is to make it protrude a bit and then cut it with a cutter.
So, after all this roll, the solution presents several valid options:
- Puzzle + Lining + Spray adhesive + Magnetic plate without adhesive: This is the cheapest option, but in my opinion it has the disadvantage that when disassembling to keep the puzzle the pieces are completely loose; although it can also be an advantage if you want to completely disassemble it. ;)
- Puzzle + Lining + Magnetic plate with adhesive: A little less cheap than the previous one, but simpler to do, and with the same inconvenience as the previous one.
- Puzzle + Lining + Lining + Magnetic plate with adhesive: For me the best option. Although more expensive than the previous ones and more laborious to perform. But in return, it allows you to keep the puzzle (puzzle + lining) armed in easily manipulated pieces and with the certainty that it will not be dismantled, and on the other hand the plates (lining + glue + magnetic plate) can be reused.
- Puzzle + Lining + Lining + Spray Glue + Magnetic plate without adhesive: Something cheaper than the previous one and something more laborious, but with the same advantage of separating puzzle and plates easily.
"Magnetize" the wall: with magnetic paint or magnetic wallpaper.
Both the paint and the paper, are simply normal products to which they add iron filings or similar in their manufacture, so that they are attracted by magnets. Here there are many variety of brands of paints and papers.
I have tried magnetic wallpaper and magnetic painting and both work perfectly. Wallpaper is faster to place, but more expensive. The painting is more laborious, you have to give several layers, but cheaper.
In case of using paint, it is usually black or very dark paint (due to the high iron content), although some brands are also starting to draw it in various colors. Once dry, it can be painted over with any normal paint. With what once the painting is finished, nothing is noticed on the wall.
It is clear that this is the most expensive and most laborious thing to do, but as I said, once "magnetized" the wall, you have it forever.
Aspects to consider:
- The greater the amount of layers of paint, the greater the capacity to hold. The paint that I have used (Pinturas Alp - Infantil Effect Iman 750 ml bought here) recommends between 3 and 6 layers to obtain adequate values of subjection. My recommendation is always to go to the maximum; It's hard work, but you only have to do it once!
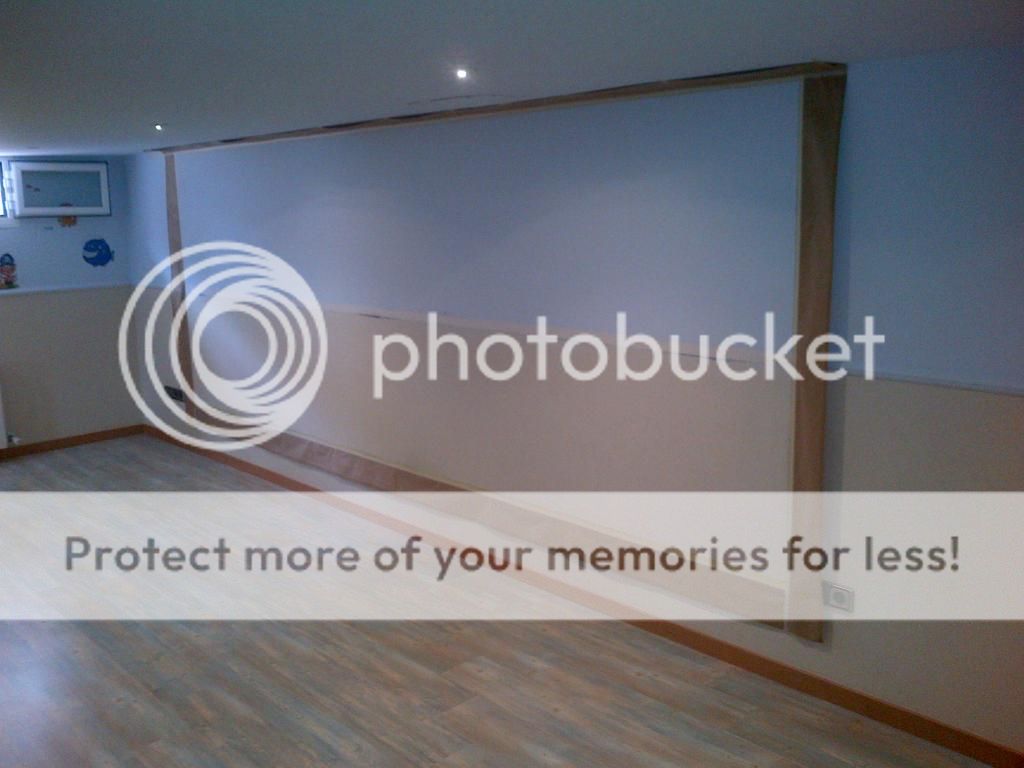
And now some images of the process:
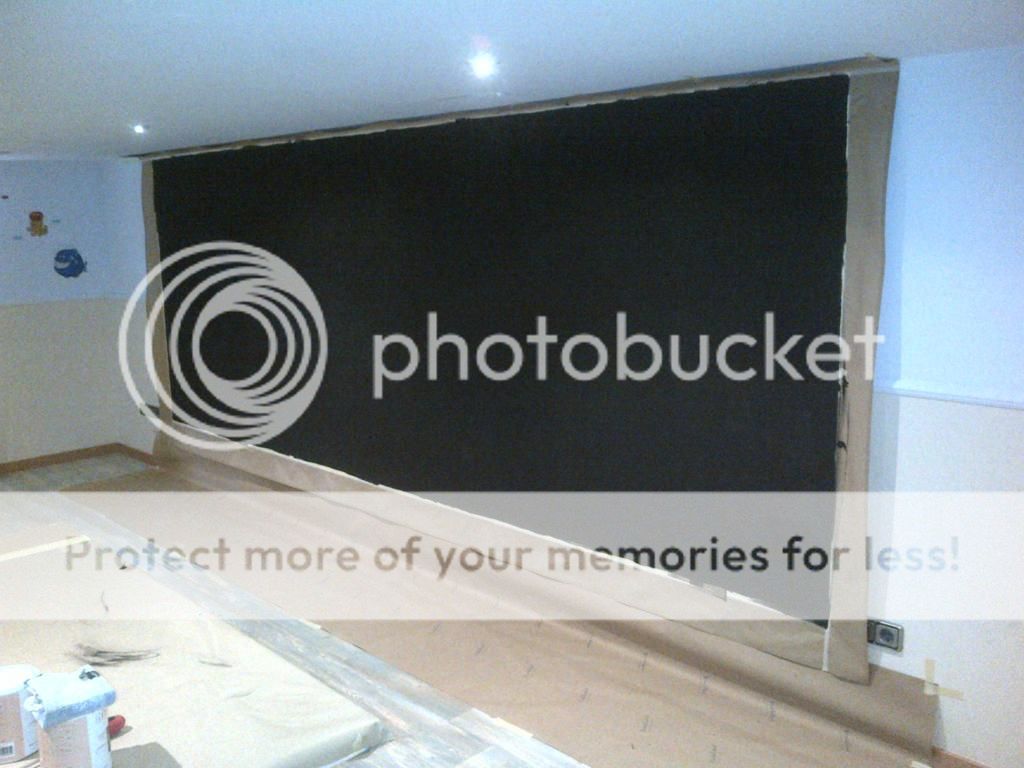
Here before painting, already with the area to be painted delimited and protected around:

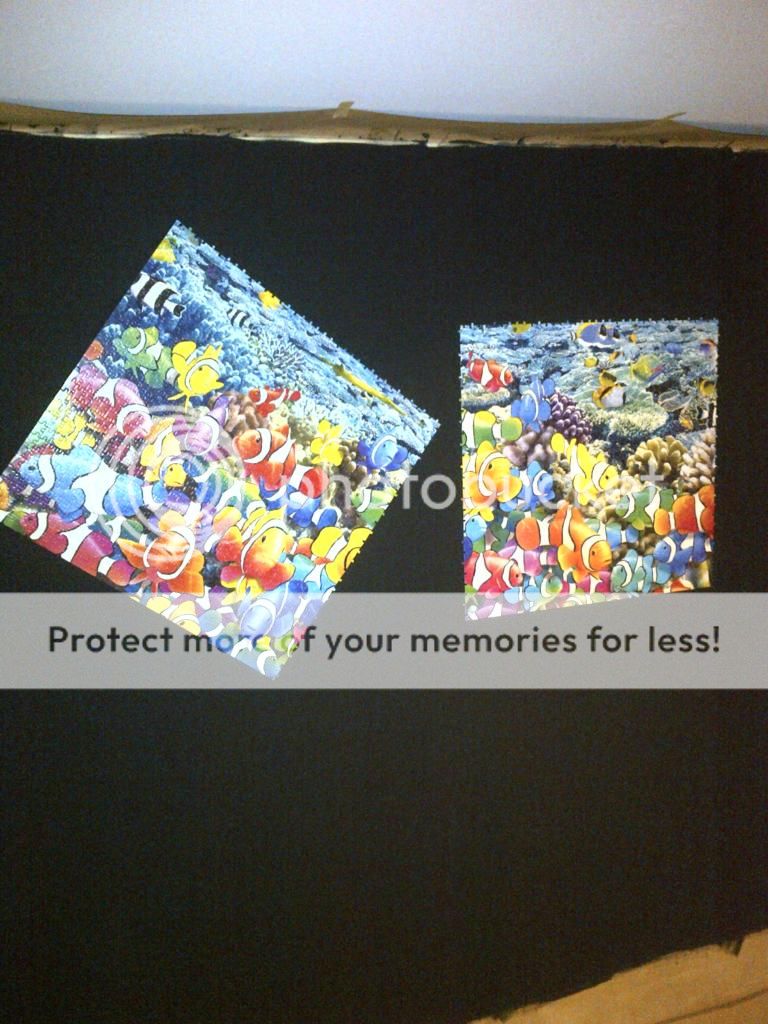
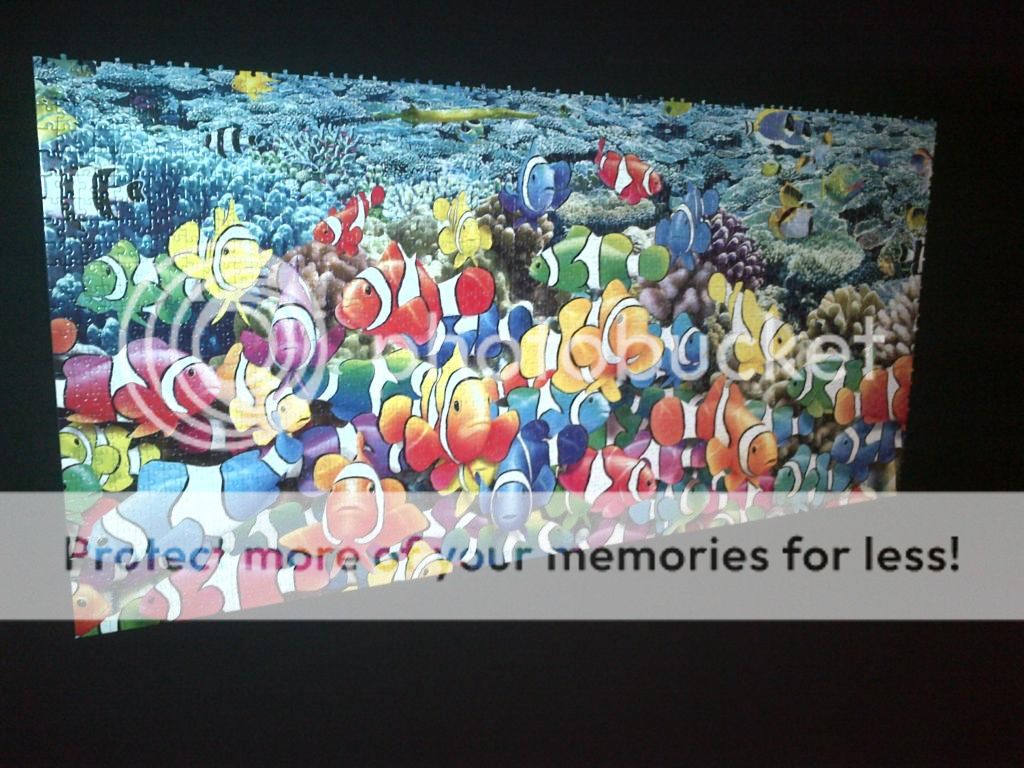
A few pieces of "Life" to do the test ...
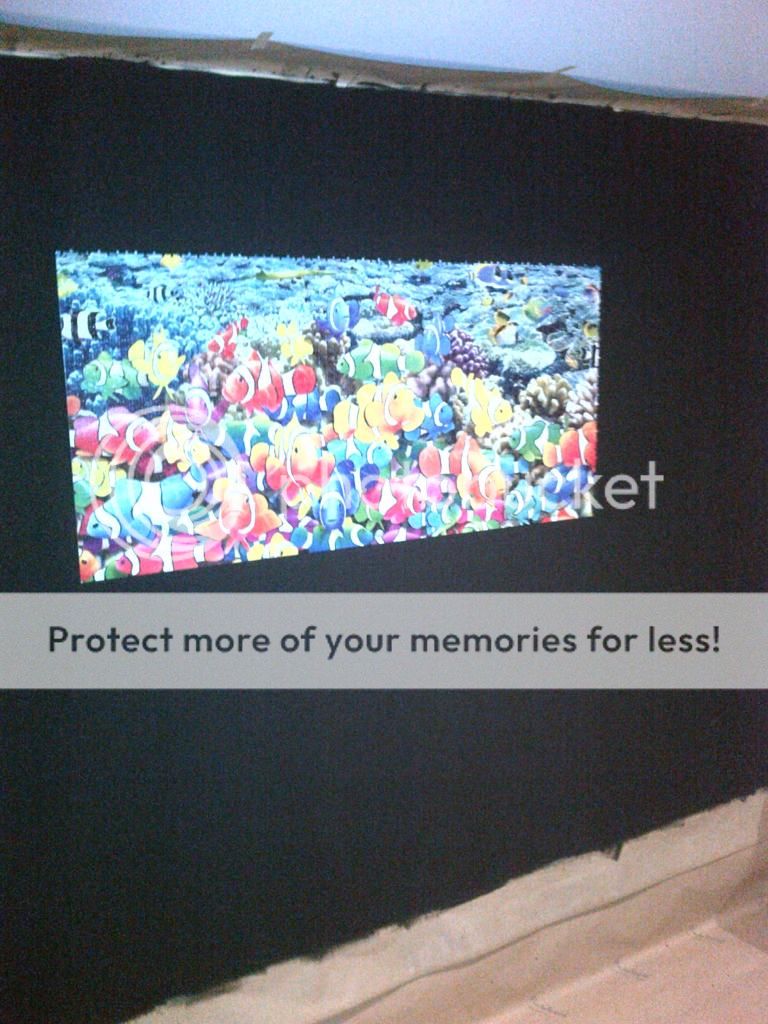
And finally, the wall already painted with its original colors:

In the next post, we will finish with "Hang the puzzle". A priori the easiest part of the process, but that has its tricks so that it does not become a headache, especially with the biggest puzzles!
Next article:
Magnetic holding of puzzles (or how to easily hang your big puzzles) - IV
Thanks a lot for your comment
ReplyDeleteThanks for posting such an amazing article. If you are looking for any Jigsaw puzzles, you can check out the Adult Jigsaw Puzzles collection which comes with amazing pictures and designs.
ReplyDelete